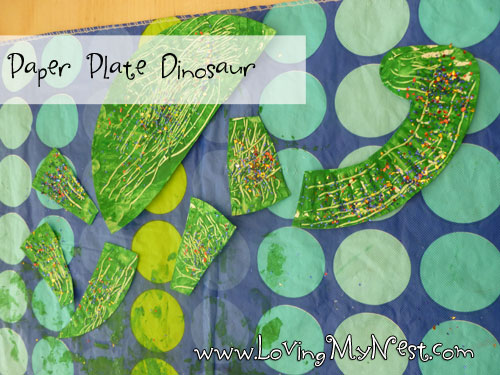
I found this cute idea on pinterest for a paper plate dinosaur! We HAD to try it out. I made a few adaptations and attached them with brads rather than just gluing so Landon could make his dinosaur come “alive”.
Paper Plate Dinosaur
2 Paper Plates
Paint
Brads (Brass Fasteners)
Cut one plate in half for the body of the dinosaur. Using the other half cut out the legs and tail. The second plate will be the head and neck. Cut about a 1/4 of the plate’s rim for the neck and round it off at the top for the head. Paint all pieces. Once dry assemble and play. If you don’t have brads, you can just glue them in place, but moving paper plate dinosaurs are more fun than frozen ones 🙂


