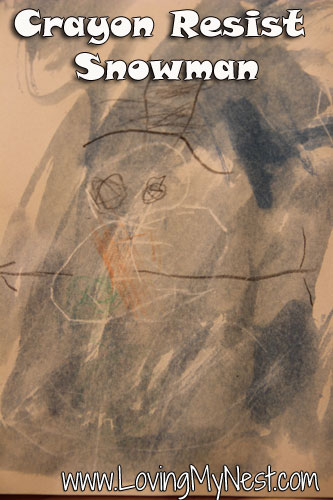
I do this project every year in kindergarten. I wanted to try it, knowing it would be a bit of a stretch developmentally for Landon. His independent drawing is still in the scribble and call it a dolphin phase. So I decided to try some directed drawing with him to help him make a snowman for this project.
Crayon Resit Snowman
White paper (if you have slightly creme colored paper that works best)
Crayons (especially a white one)
Blue water colors
If you child is able to draw a snowman on their own, simply direct them to draw a snowman. Make sure to remind them to press HARD with the crayons while drawing, it’s important for the “resist” aspect of this project. If they are not able to draw a snowman independently, then direct them step by step. My directions went like this:
1. Start at the bottom of the paper (I had him point and modeled with a piece of my own). Draw a large circle, but not so large that it takes up the entire page: you still want room for the rest of your snowman.
2. Put your crayon at the top of the circle you just drew. Now draw another circle, a little smaller, making sure it touches the bottom circle. Put your crayon at the top of the middle circle and draw a smaller circle for the head. Color all circles in. (again remind to press HARD!)

3. With a black crayon, draw a flat line on top of the snowman’s head. Then draw two lines going up and connect the tops, color it in.

4. Add circles for eyes, a triangle for the nose and buttons (circles) down the belly.

5. Add snowflakes. The way I teach drawing snowflakes in kindergarten is to do an “X” and a “t” right on top of each other. Landon did his best, but ended up doing circle snowflakes (which is FINE!)

Once it’s all colored, paint over the entire drawing using blue water colors. Children who have never done this type of project before are usually AMAZED when the white of their snowman “appears” from the blue paint.


